
Over the last few months we’ve gradually turned our kitchen from what our friend Tony described as ‘dirty-Neapolitan ice cream pink’ (like after it melts a bit and after all the other flavours have been mixed in) to a fresh, shiny white and glossy grey.

Hmmm Neapolitan…
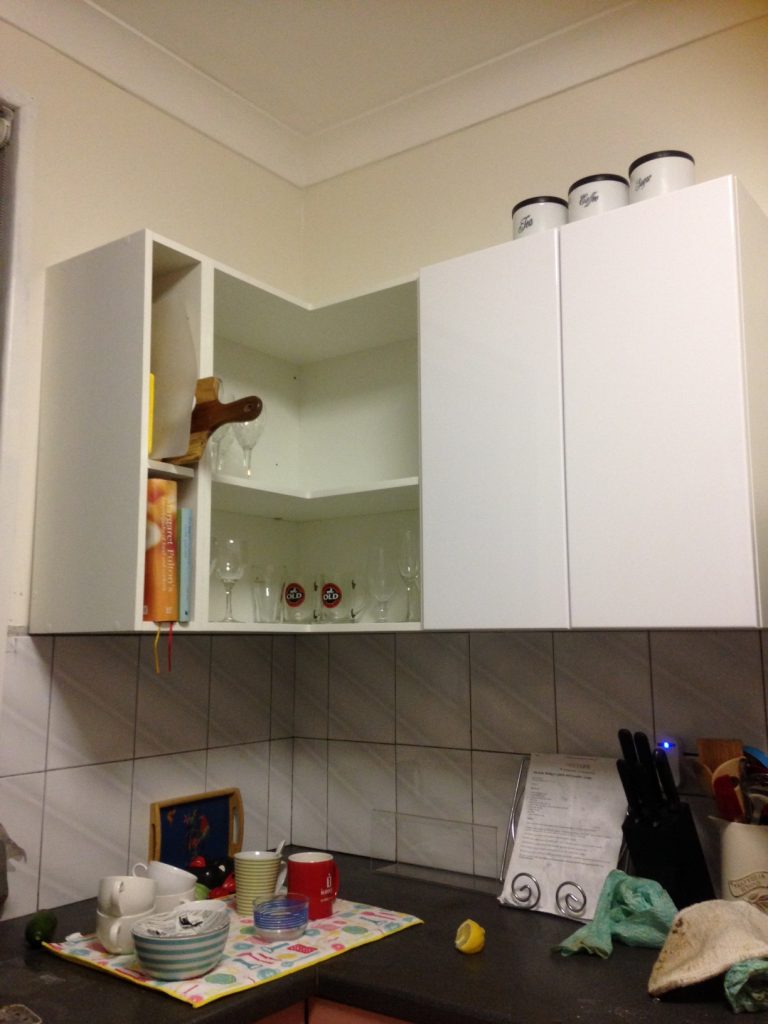
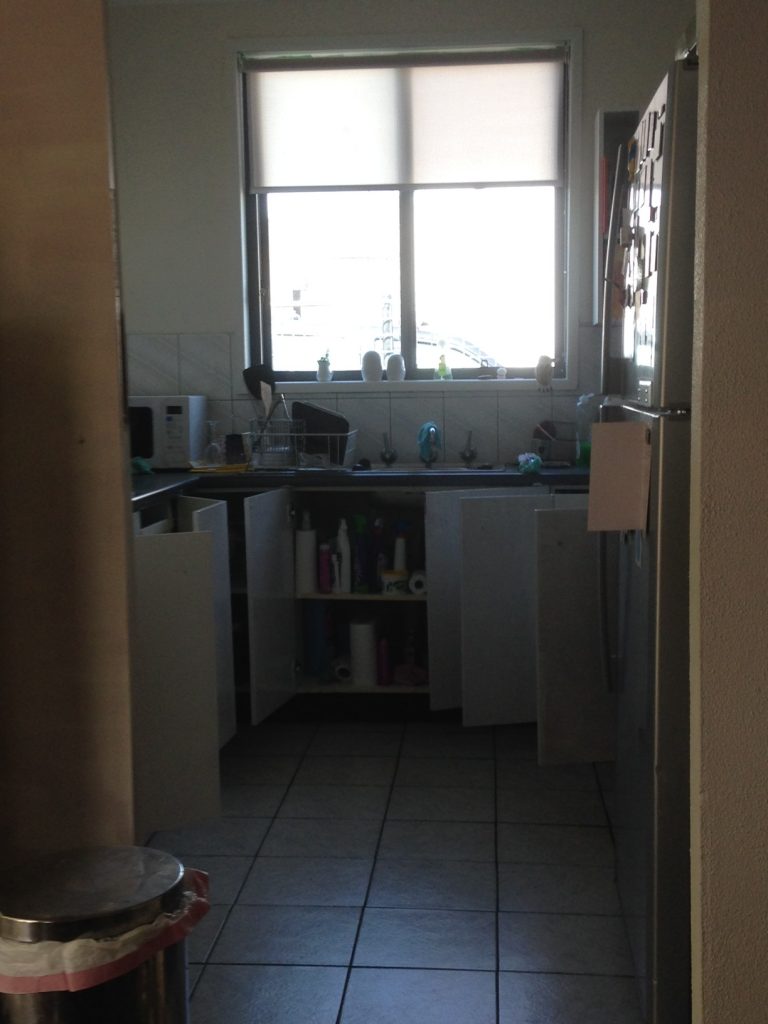
Before
Nowadays u-shaped kitchens are not fashionable – I guess as you have your back to everyone while you’re entertaining – they also didn’t account for dishwashers and all the modern gadgets that take up bench space; but it’s big enough for 2 humans and a cat.

Note the grey ceiling and pastel cornices – noice!
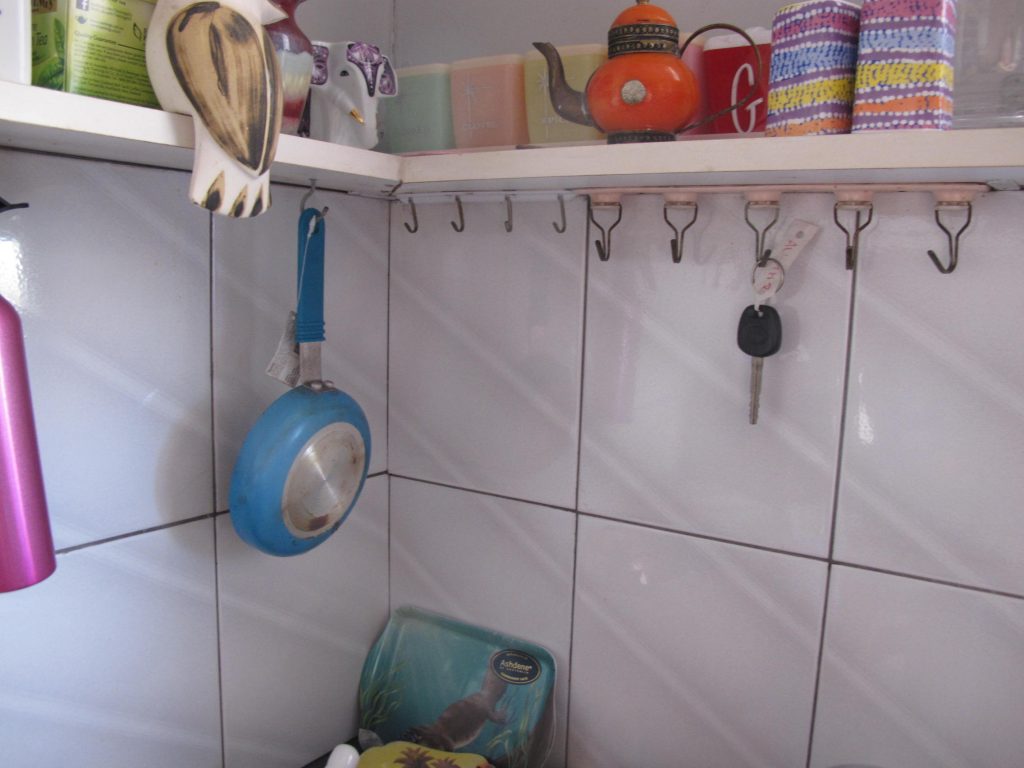
The previous owners sure loved their hooks…
So many little hooks!
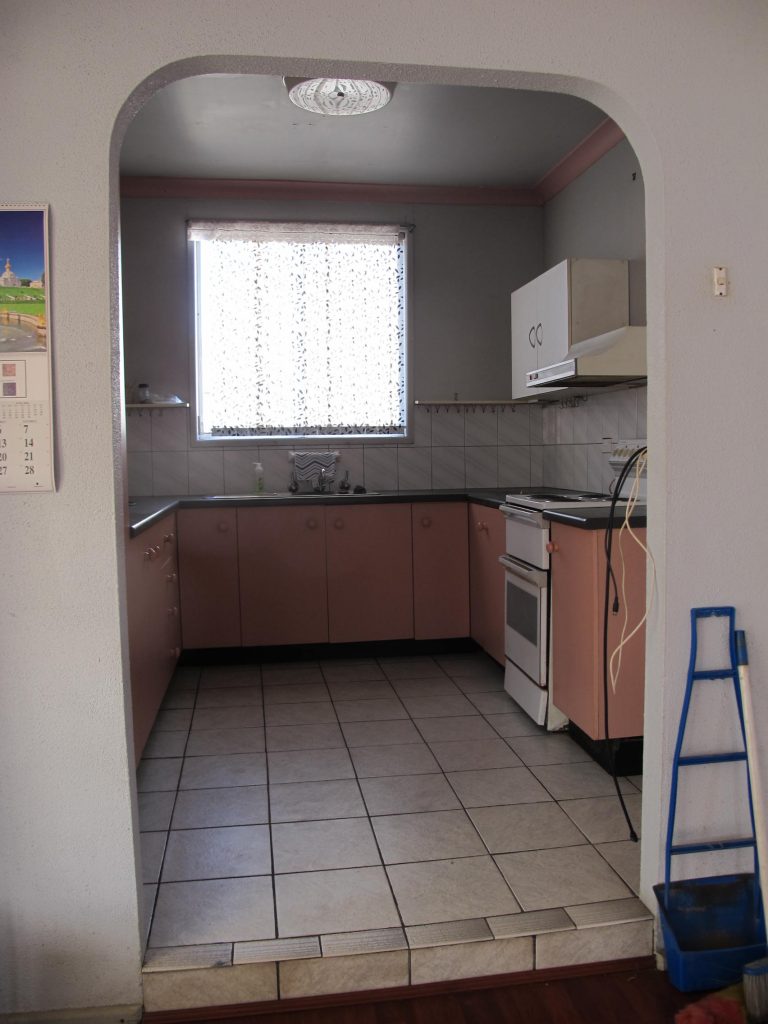
Another (grim? grimy?) view – the pink trim and grey walls aren’t helping
With original blind…and light fixture!

Of course it broke a couple of weeks after we moved in.
Goals
The main goal was to make the kitchen less grotty feeling and and waaaaaaaaaay less pink and grey for as little money as possible (in anticipation of a proper new kitchen down the track). Additional cupboard space and extra shelving was also on our wish list.
Somehow there were deep seated grease stains in the laminate countertops – I don’t even know how that happens – but nothing shifted them!

I tried everything – gumption, turps, steel wool – nothing was budging that grease
With the stove breaking down and some quick coats of white paint on the walls and ceiling we had already got that side of things sorted so turned our minds to what we could quickly and inexpensively do ourselves to improve the look and functionality of the kitchen.

Curiouser and curiouser
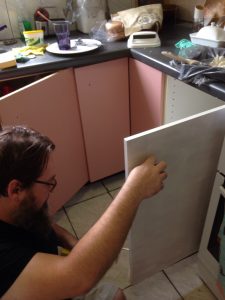
Extra cupboard space!
We lost a cupboard to get our (fat) fridge in so we were running a bit low on cupboard and bench space.
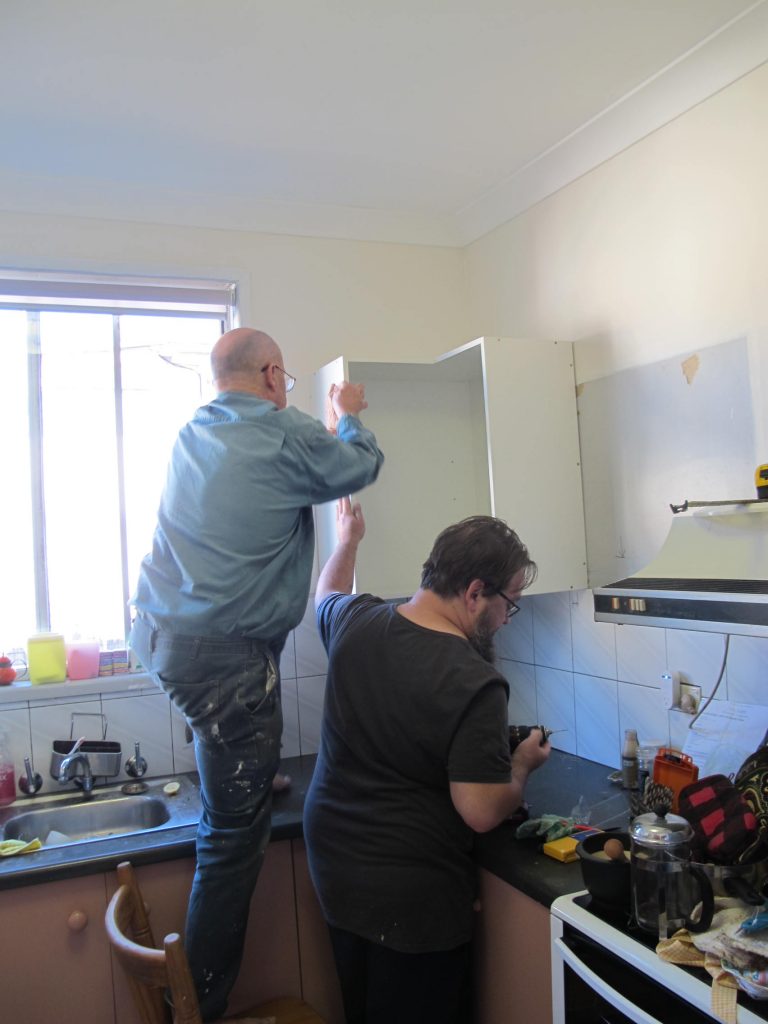
As it happened my mum had some old flatpack Kaboodle kitchen cupboards from Bunnings she wasn’t using…so with some help from Papa Amos we got underway.
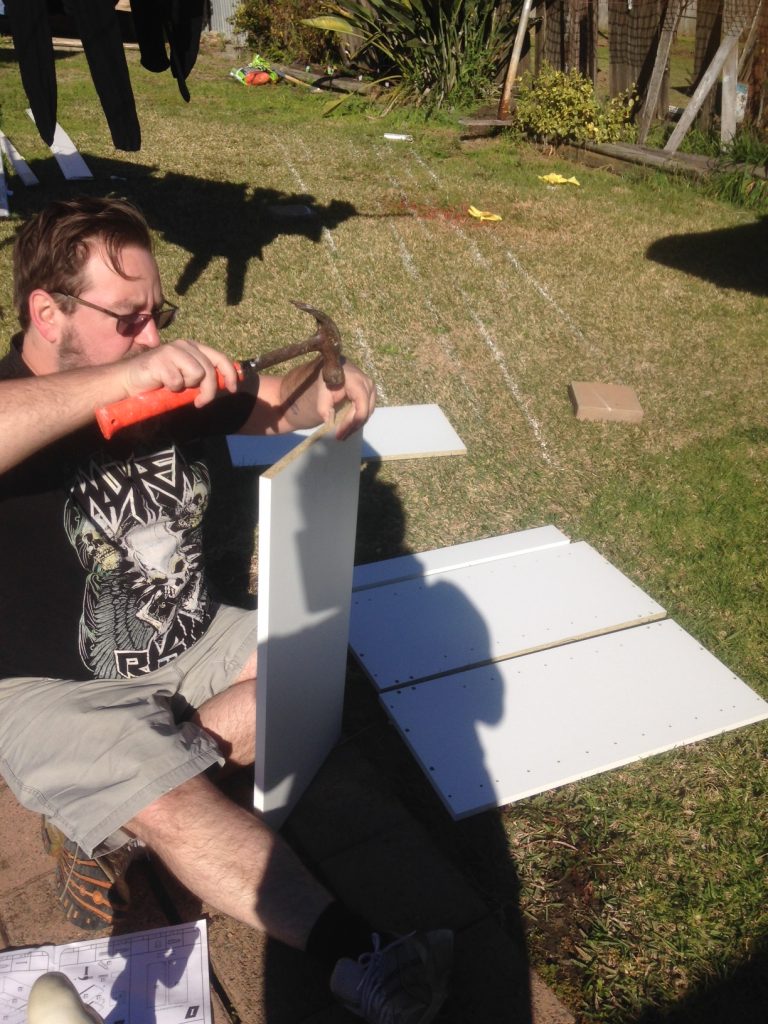
Go Wookie!
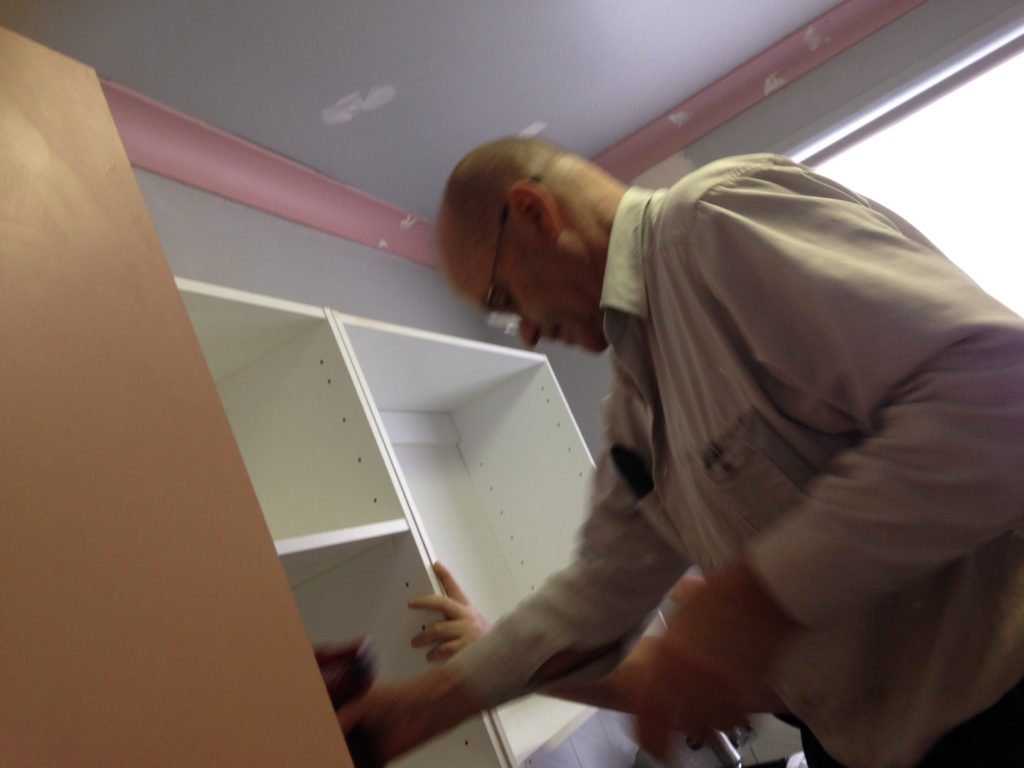
Papa Amos helping to get the new (old) cupboards up
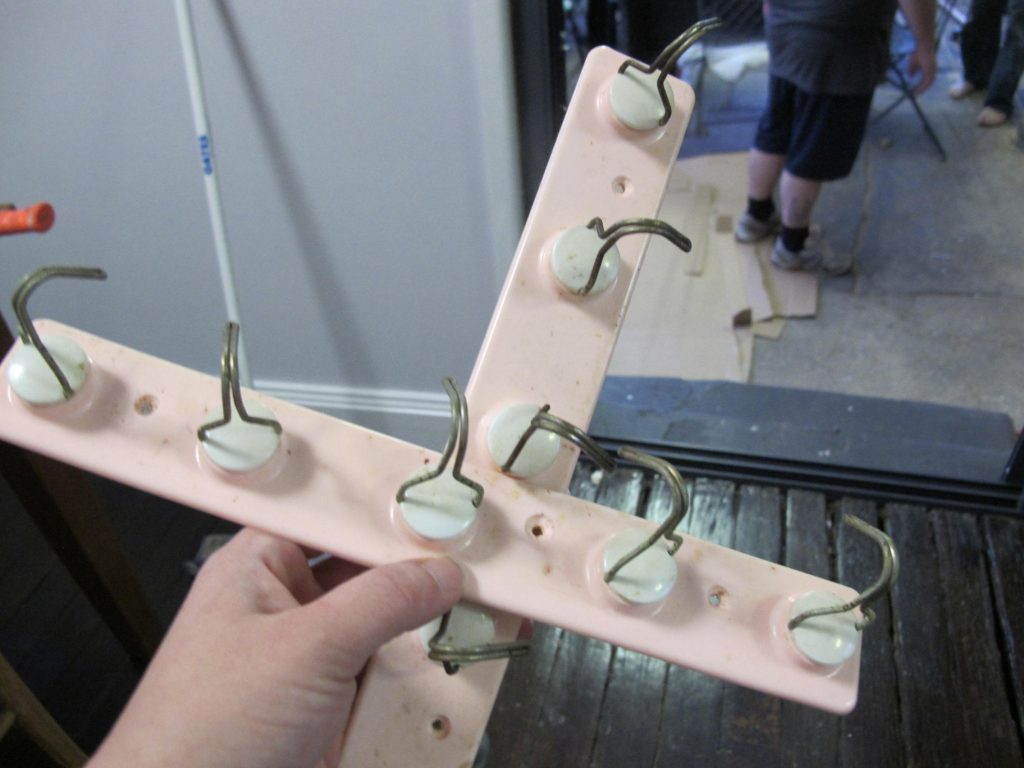
Inexplicably we somehow we found even more hooks we’d missed on the previous search and destroy mission…
Getting in the corner cupboard with soft close doors – fancy! (NB you can see the original grey paint and the newly white walls and ceiling)
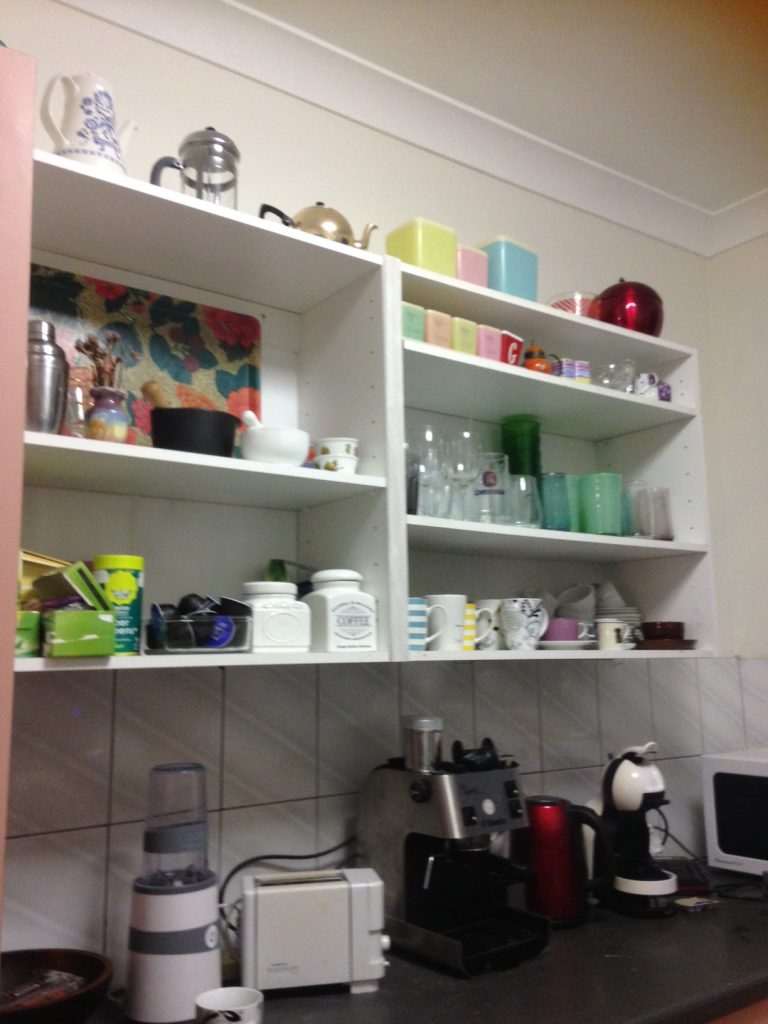
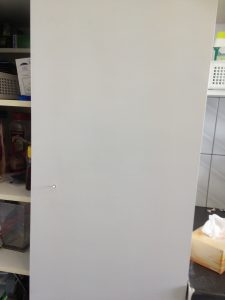
Old Bunnings flatpack = loving the open shelving to display all our kitschy things…
New soft close corner cupboards – glossy!
Note – no hooks!
Paint is your friend!
We have become quite enamoured with the transformative power of paint, it gives serious bang for your buck when renovating on a budget.
After paining over the grey ceiling, walls and pink cornices and adding the upper cupboards we turned our mind to the problem of the Neapolitan pink!
It had to go…

Salmon? Rose? Dirty Neapolitan….
After studying a few DIY videos we decided to go the laminate paint route to refresh our kitchen cupboards, drawers and tiles.
PRO TIP: To match our fancy glossy upper cupboards we chose to use TILE paint rather than normal laminate paint to get a much shinier finish.
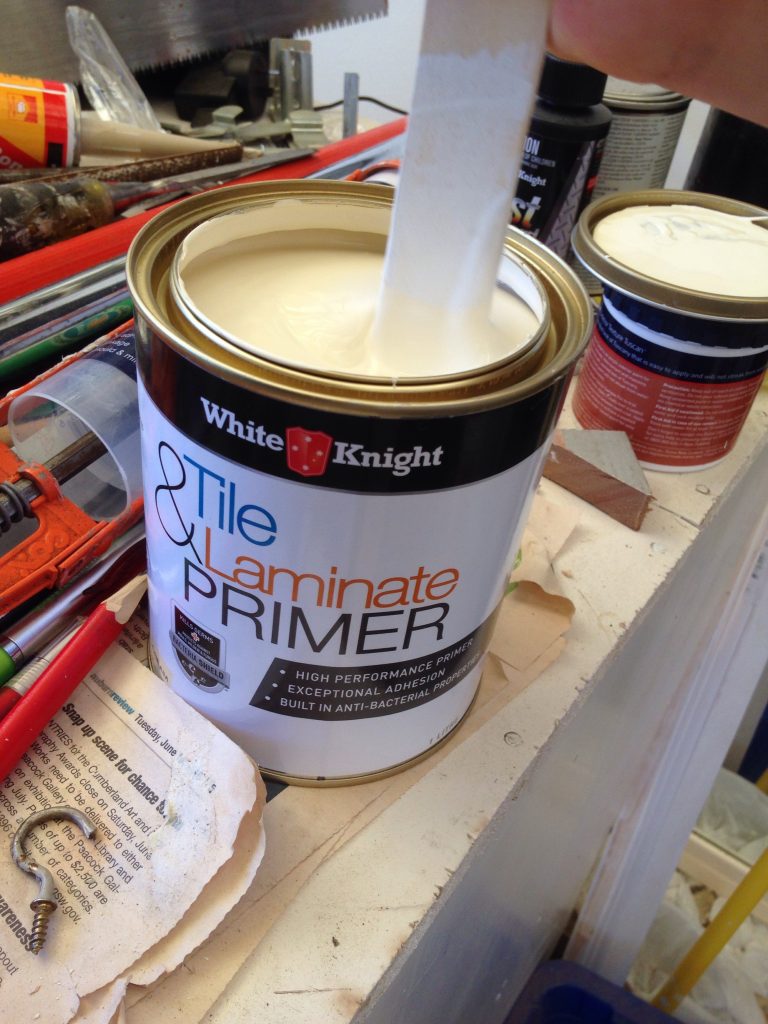
Primer! The important first step – must be stirred for a tedious five minutes…
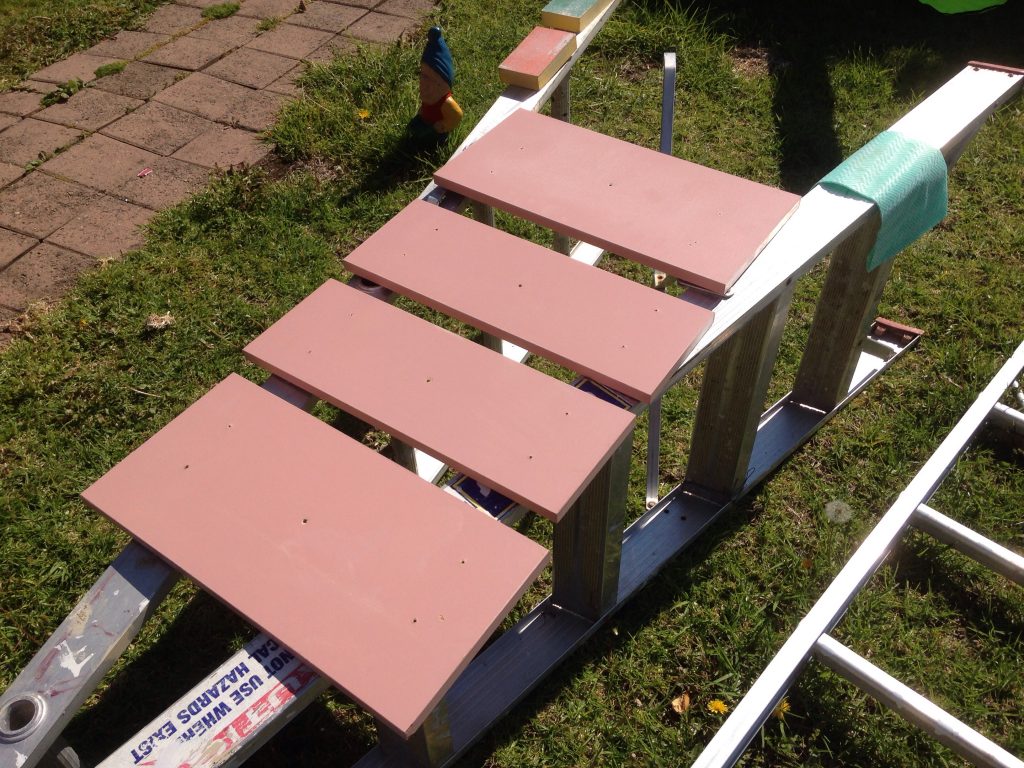
Drawer faces off!
Second coat of tile paint, and lookin’ good
Now to let it all dry…

Not bad and nice and shiny
We also replaced all of our lovely pink knobs (!).
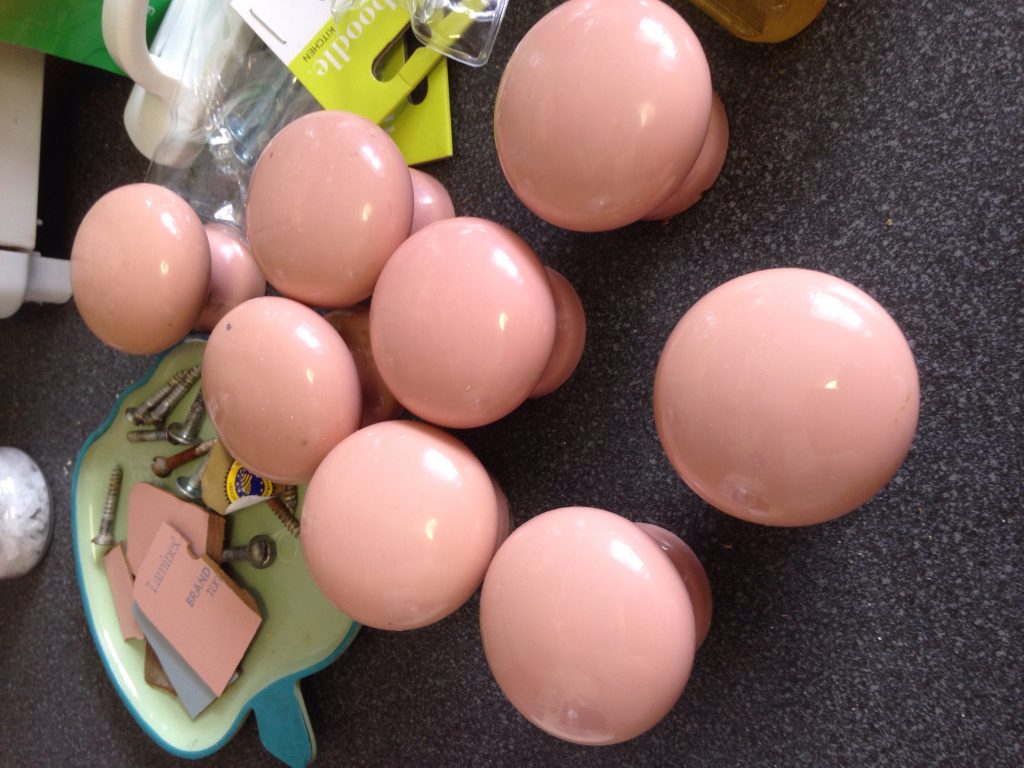
Pink knobs!
We used the Kaboodle handles and knobs from Bunnings, stylish no?
We also painted the two rows of tiles in the white laminate paint to freshen them up

For under 30 bucks not a bad way to update the kitchen’s look with some new handles…
We then enjoyed the kitchen for a few months and decided it was time to tackle the benchtops…another biggish job for a spare weekend.
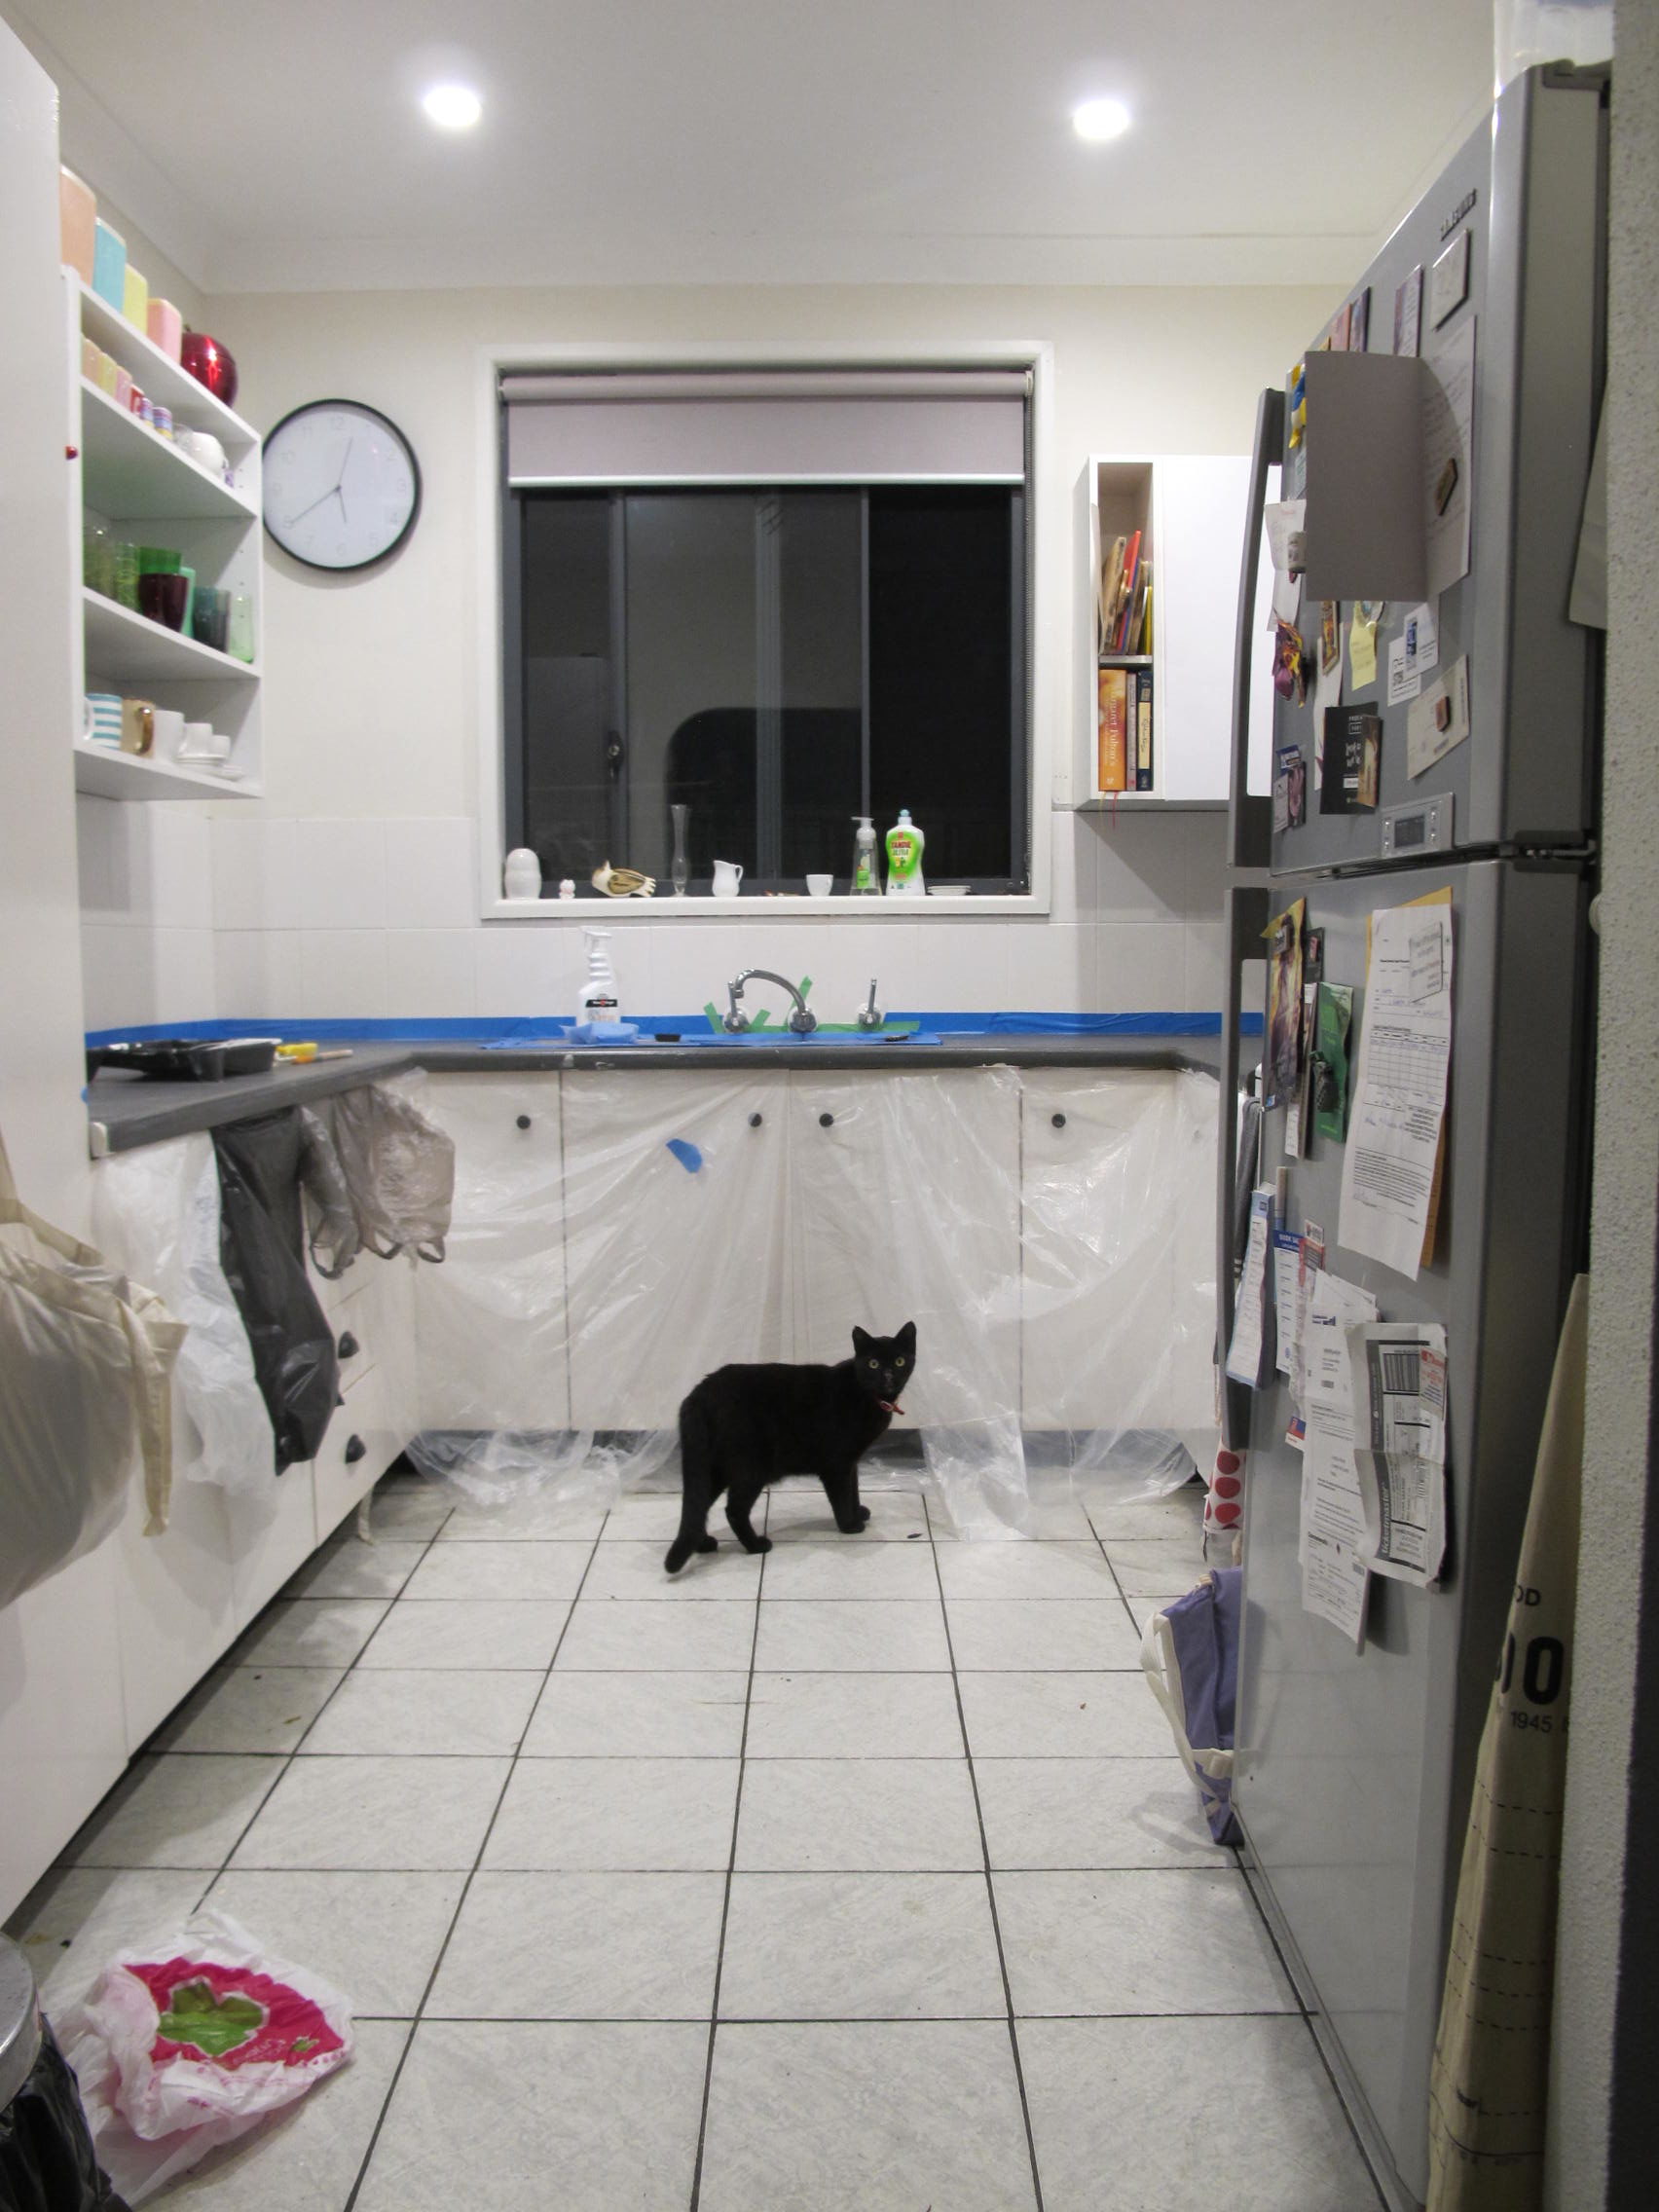
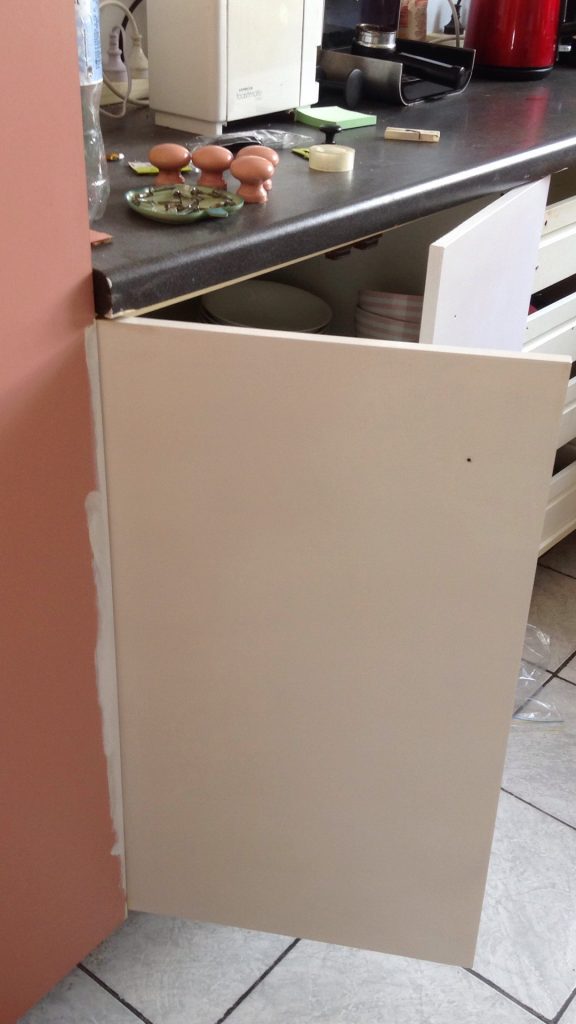
After taping the splash back tiles and protecting the cupboards we got busy over a weekend and did two coats in an Ironstone grey to match our window frames

Like the cupboards and tiles – same process: first you must wash down, sand and then PRIME!

You can have laminate paint tinted to any colour you like…we went for grey to match the windows.

The Boss; ‘supervising’.
After some drying time and touch ups we’re DONE

Not too bad – some of our friends actually thought we’d had a new kitchen put in…


Tips and costs
We ended up doing this over the course of a few months (and also got a sparky in to rectify some wiring generally and hook up the four down lights Papa Amos had installed in the kitchen). The windows and blinds had been done earlier as part of the whole house so not counting those elements.
The total costs with the 5 tins of laminate paint and primer, trays and rollers, lights, new stove and down lights came to around $1,300 – not too bad.
The labour was free (except for the sparky) and the upper cupboards were freebies.
It’s worth it to buy the proper mini micro fibre rollers for laminate paint (expect to go through a few – they are almost impossible to properly wash out with turps).
Also worth getting a good quality angled paint brush for cutting-in on the edges and keeping it all smooth (that is worth washing out and reusing).
We decided to skip the protective gloss coating on the benchtops – and they’re already pretty scuffed and scratchy in places – we may sand, re-coat and apply the special protective coat – but a tin of that stuff is over $80 so we may look for an alternative or not bother.
We were lucky that we weren’t doing this under time pressure – because unlike the reno shows where they paint a whole kitchen in a segment or claim you can resurface all of a kitchen in a weekend – you really do need to over-allow for drying time. Plus it’s a bit of hassle to move everything thing in and out of the kitchen – after all you do need to eat!
The weather – particularly if it’s very cold and wet or high-humidity does impact the drying time so can delay things and for the bench tops to fully ‘cure’ you really can’t put anything heavy on them for 7 days after the final coat.
Another tip from Wookie – open shelving at ‘head’ height or eye level is super convenient – initially we worried about dust, but with fly screens and keeping things clean and tidy generally we’ve found it’s not been an issue and certainly lets you display stuff!
We’re very happy with the results and so far it’s wearing reasonably well – the cupboards are easy to wipe down and haven’t chipped yet!
Livin’ the dream in Sydney’s (inner) western ‘burbs with a Wookie and a bossy cat.
Peter
Yep ……. anew kitchen for minimal outlay …….. love the Vinnies stock too.