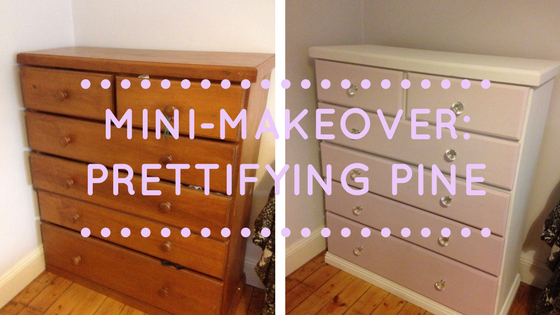
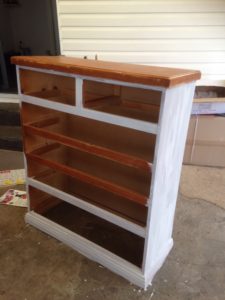
I’ve had this chest of pine drawers since I was a kid, solid, and nothing particularly wrong with her…
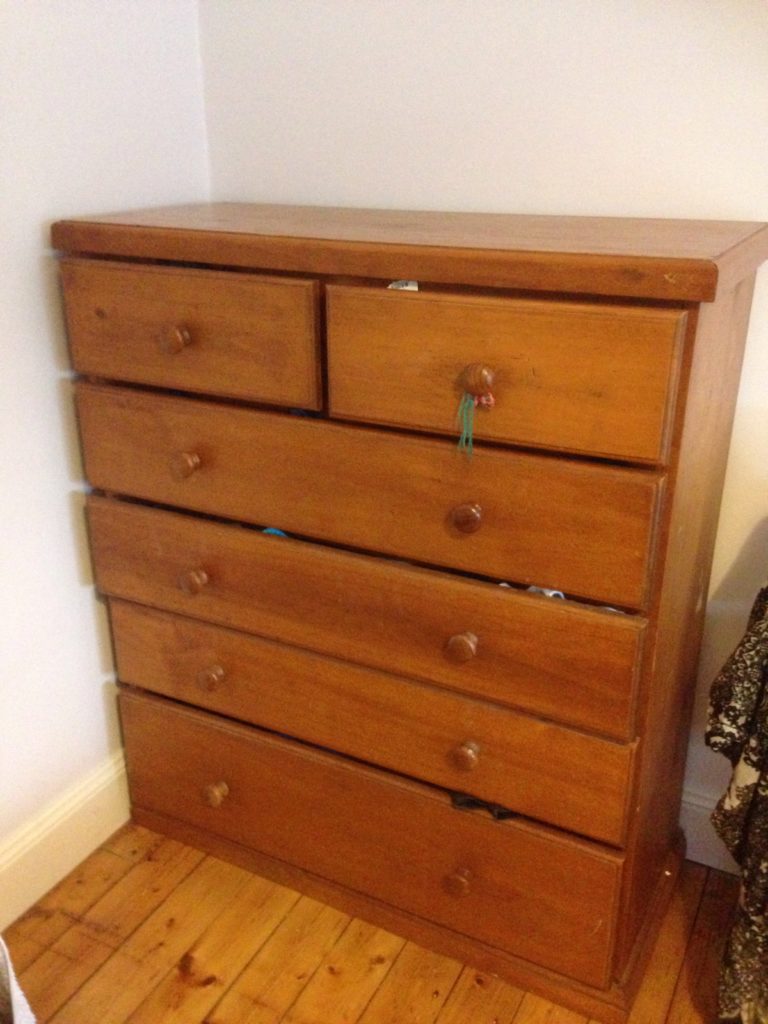
SO much pine!
However in our freshly painted bedroom the pine chest looked a little heavy and a little too woody on the polished Cyprus pine floors.
I’ve also been reading up for some time on “chalk paint” and it was the perfect afternoon makeover project (even if Wookie said we have other reno priorities).
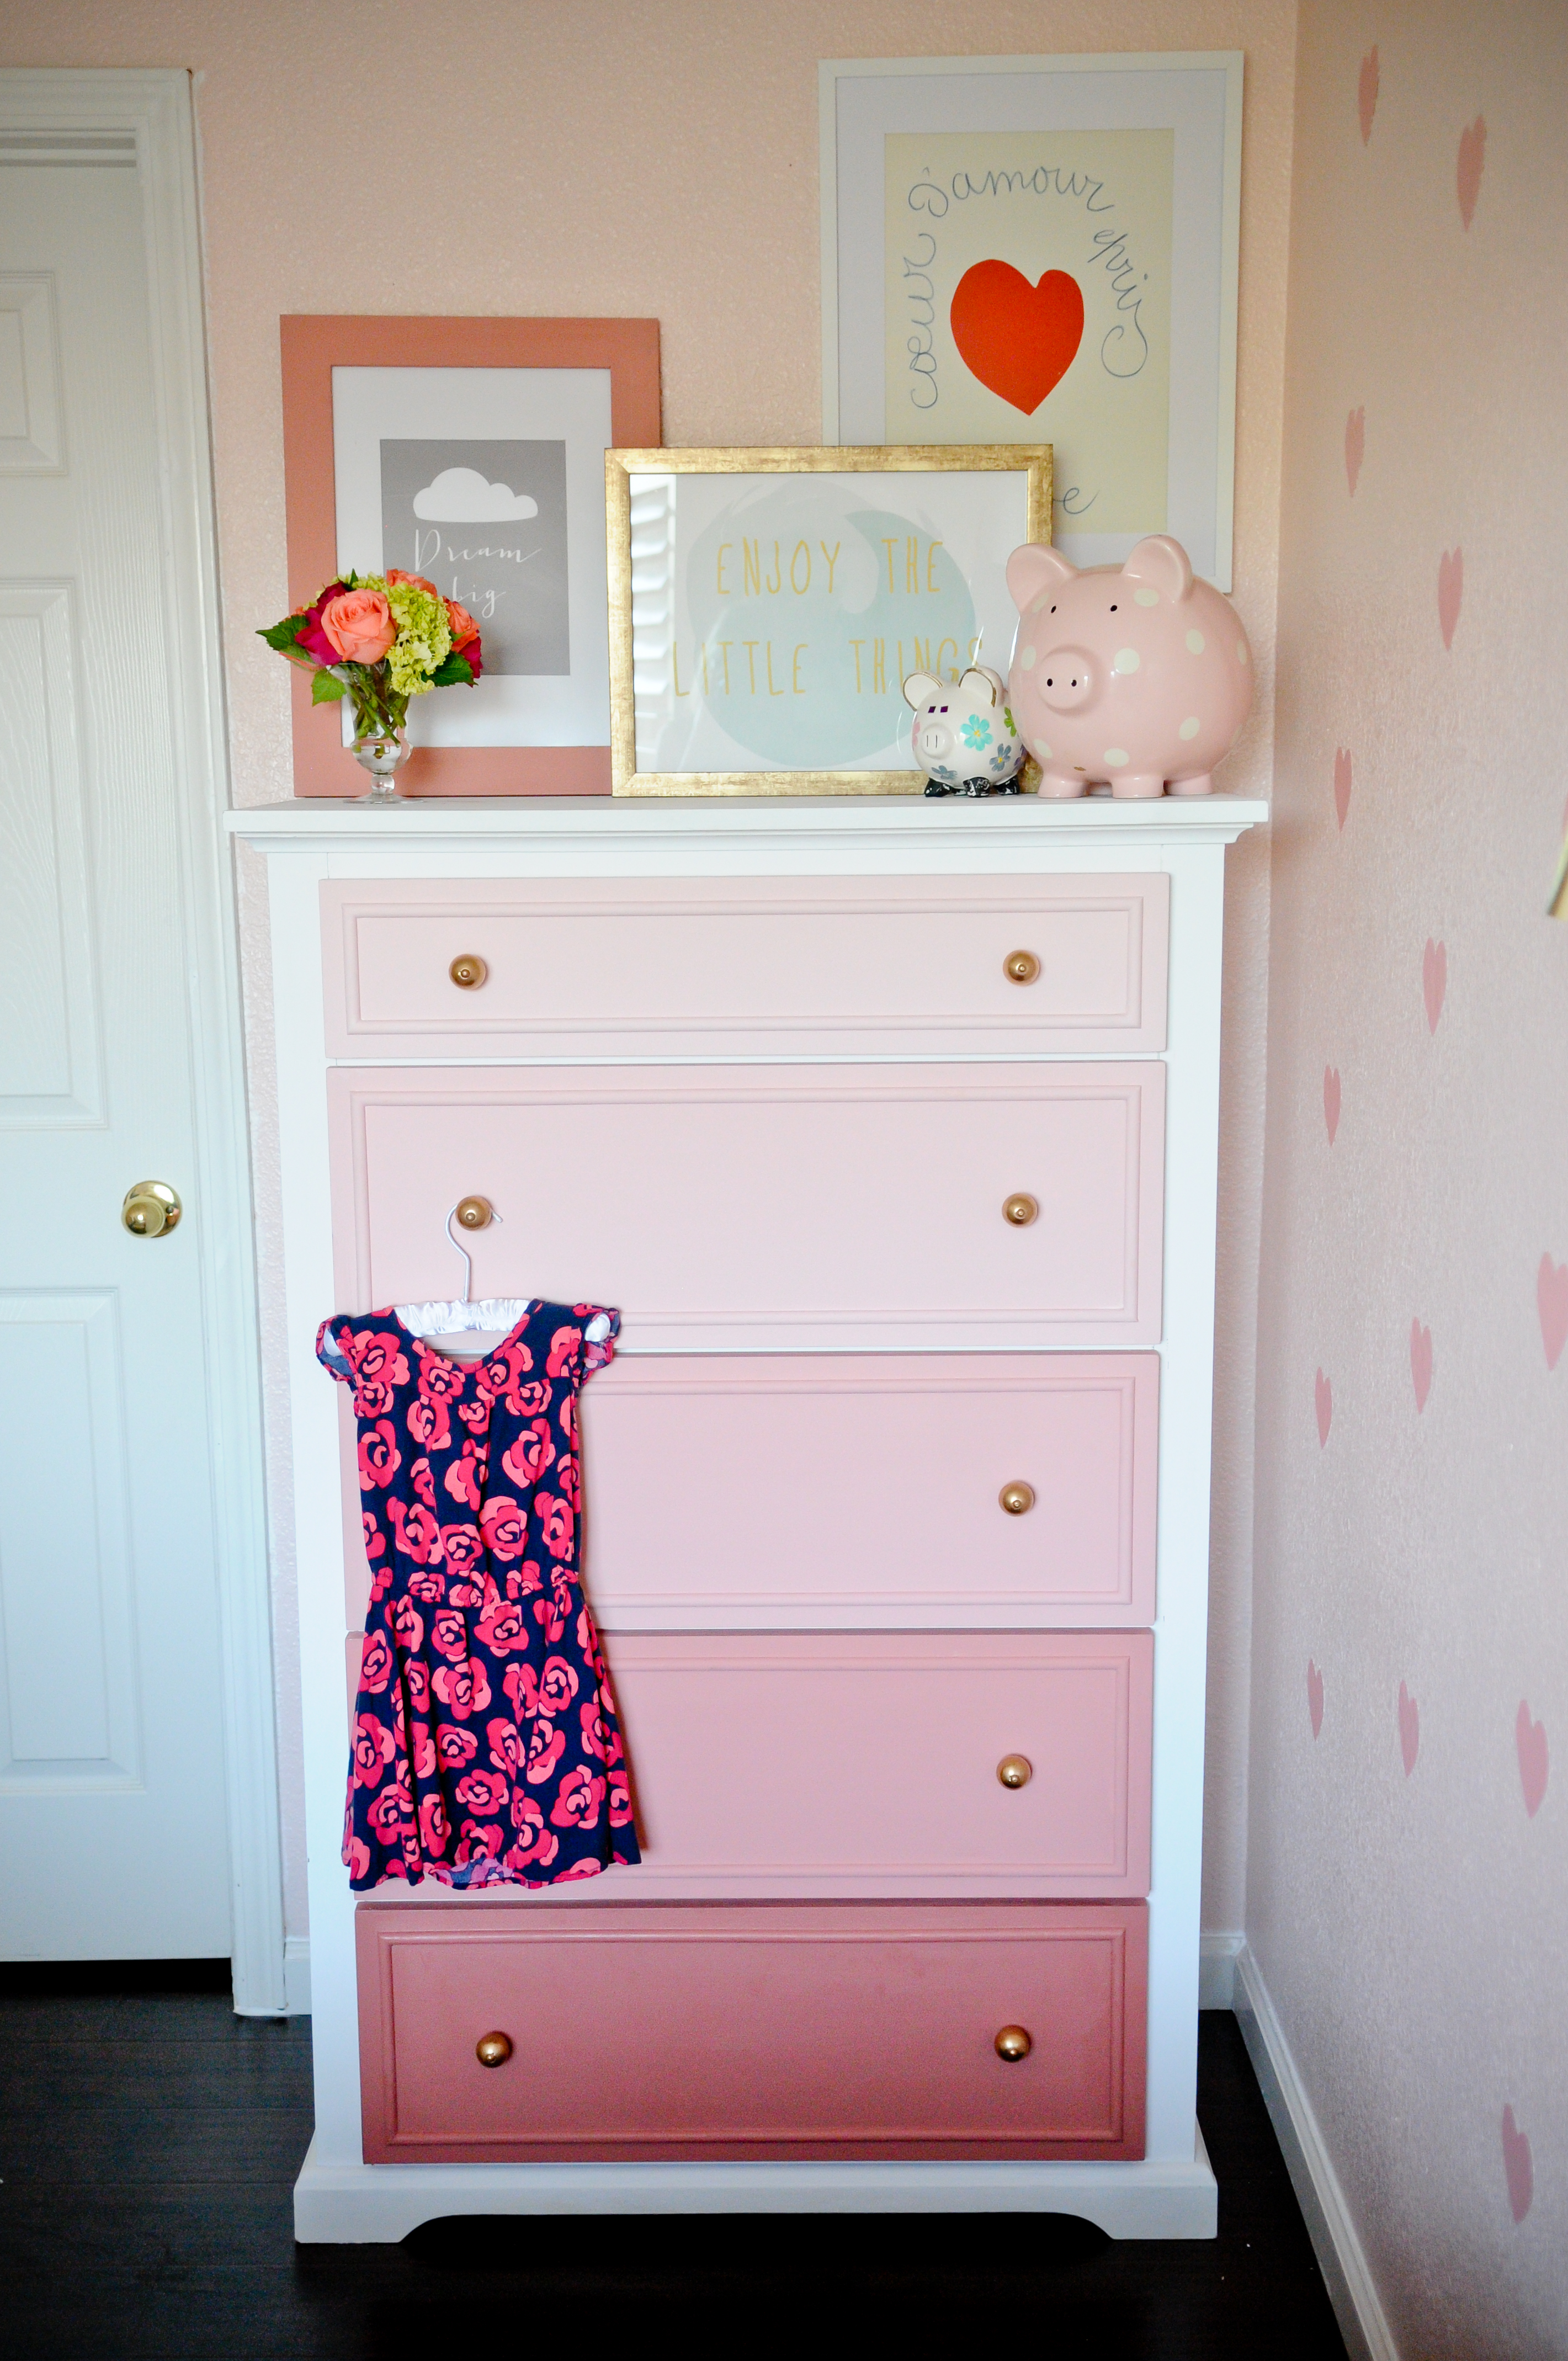
I have also become really obsessed with the so-called “ombre” gradient type effect like so:
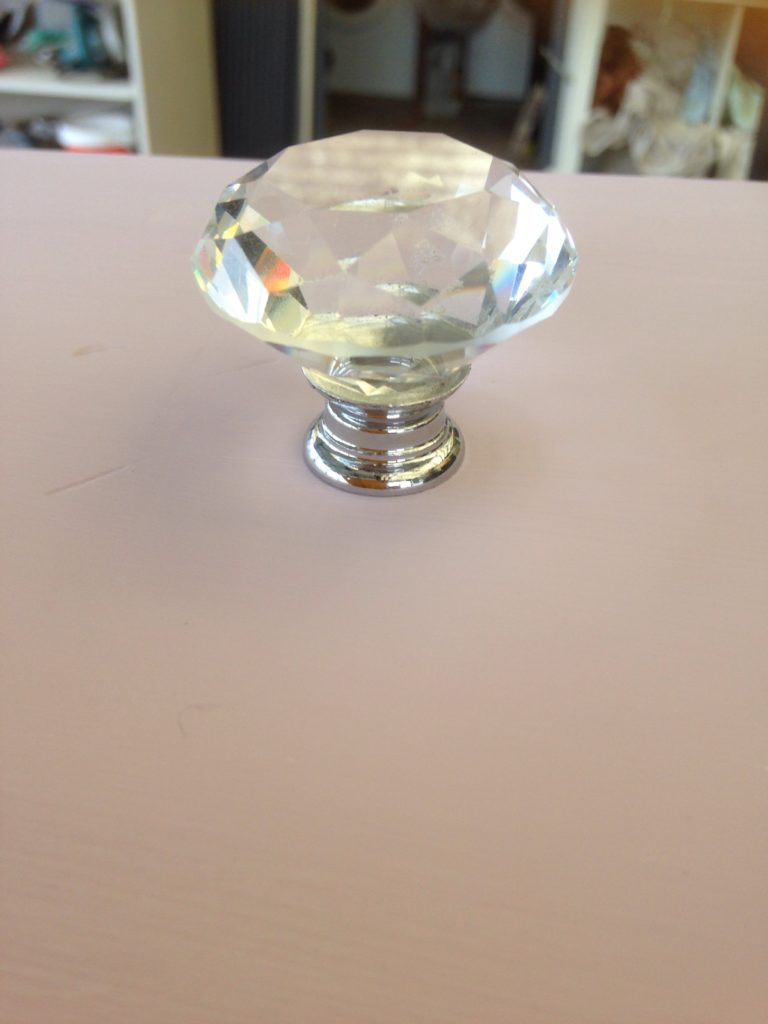
I also wanted to try some sparkly glass look knobs to get away from these:
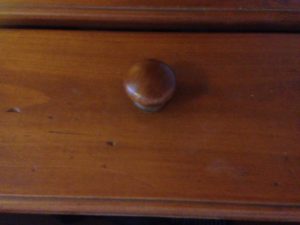
and tracked down a set of real cut glass knobs on Gumtree that a lady had purchased by mistake, original RRP $15 each, I got a perfect set of 10 knobs for $60 (tee-hee!).
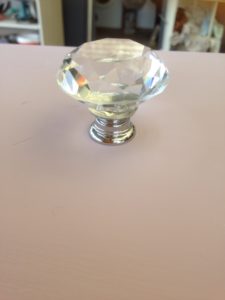
Pretty! Blingy! Knobby!
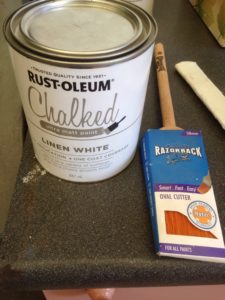
So to Bunnings! I picked up two tins of Rust-Oleum Chalked paint, one Linen White, and the other I asked to be mixed to Soft Iris, so far so good. (Though it did look a little pale to me, I hope that guy knew what he was doing…).
Compared to other products (including the inventor of chalk paint, Annie Sloan‘s range) Rust-Oluem is reasonably priced, at $42 a tin and available very conveniently at our local Bunnings.
The process…
Step one
(Obvs after getting everything out and the drawers and frame outside) was to give it a good sand… all over
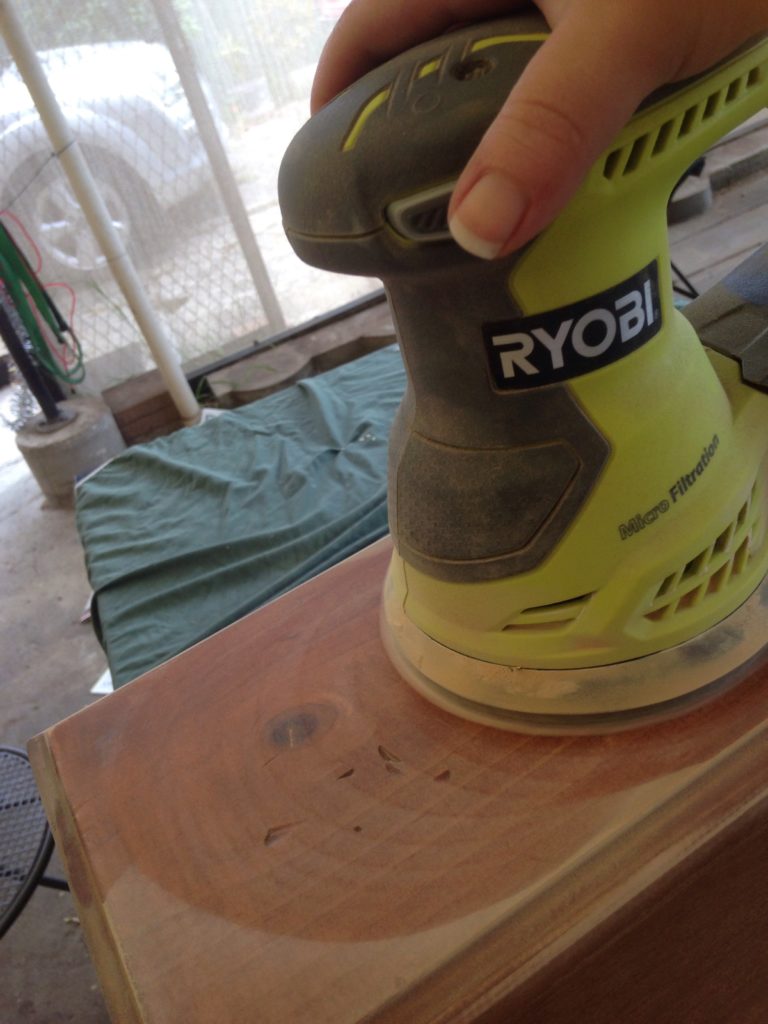
Then a quick wipe down to remove the dust (v important!)

Step two
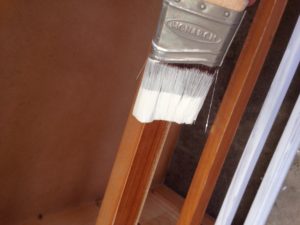
Now to get painting! I decided to paint the top of the drawers and the frame Linen White to make my Soft Iris ombre effect really pop.
After a good stir we’re ready to go, the consistency of the paint was a little weird, but could have just been because it was a hot day.
I also decided to crack out a fresh paint brush (rollers are not recommended for chalk paint).
Ready to go!
I recommend not overloading the brush to begin with and getting a feel for the viscosity of the paint before you lay it on too thick, much easier to do a second coat than having to sand back runs.

Keep the paint load sparing!
I did see that the label claims you only need one coat, I did two coats and will perhaps eventually get around to doing a third on the sides where it’s a bit patchy.
Steady as she goes – keep the paint light to avoid runs and drips

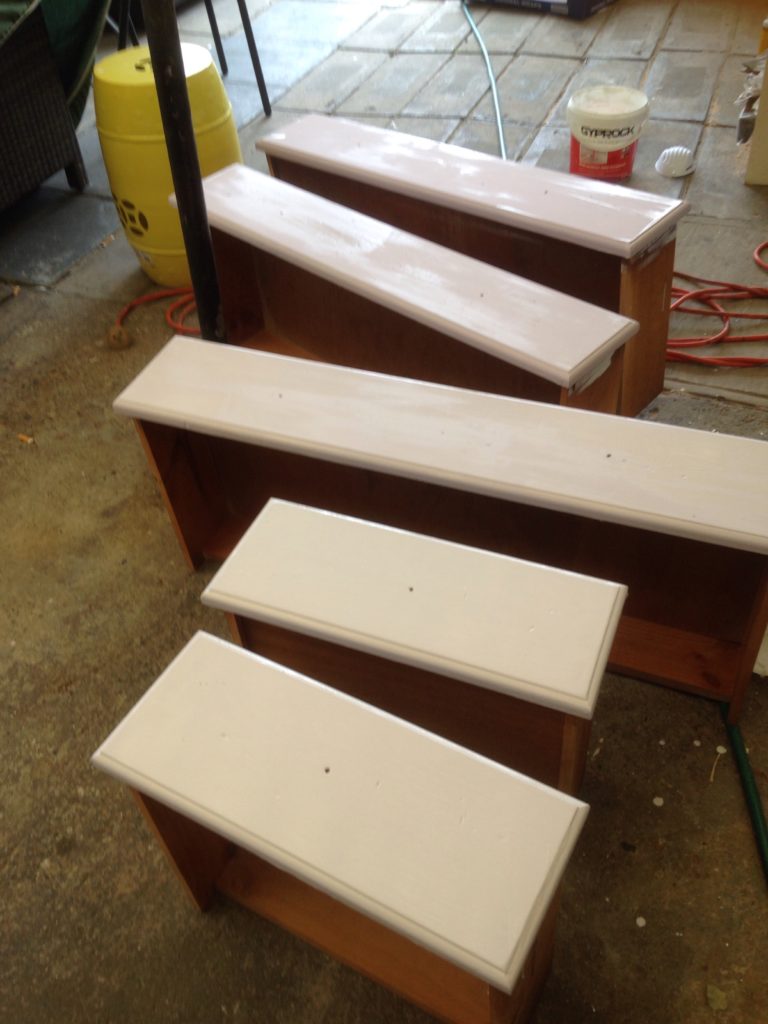
Ta-dah!
I decided to make the bottom drawer darkest and pure Soft Iris, and got to work….
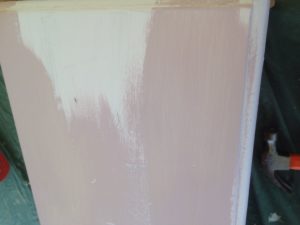
Wait a minute! That doesn’t look at all right.
Um that kinda looks like a dirty white colour, not the Soft Iris tint I thought I’d had mixed.

Dat’s not anything like Soft Iris…
BACK TO BUNNINGS – UGH.
When I got there the paint attendant wasn’t surprised to see me, he thought his colleague might have got it wrong (note: don’t go to Bunnings late at night as you might get anyone mixing your tint!).
Luckily I didn’t have to wait too long to get a replacement pot of paint. After a quick sausage at the Bunnings’ sizzle we took off to the other side of Sydney to collect the glass knobs and then headed back to the nest.
BACK TO WORK
With the knobs in hand (ha) and the correct paint it took me less than two hours to have the frame painted white, drawers undercoated, and then to tint various paler shades of Soft Iris by adding a dollop of the Antique White to my container of paint. It would have been even quicker if I hadn’t had to wait for drying time.
Much better and more like it! Hello Soft Iris.
The finishing touches…
And we’re done
The ombre effect is pretty subtle, but I like it (even Wookie does) and it really lightens up the room.
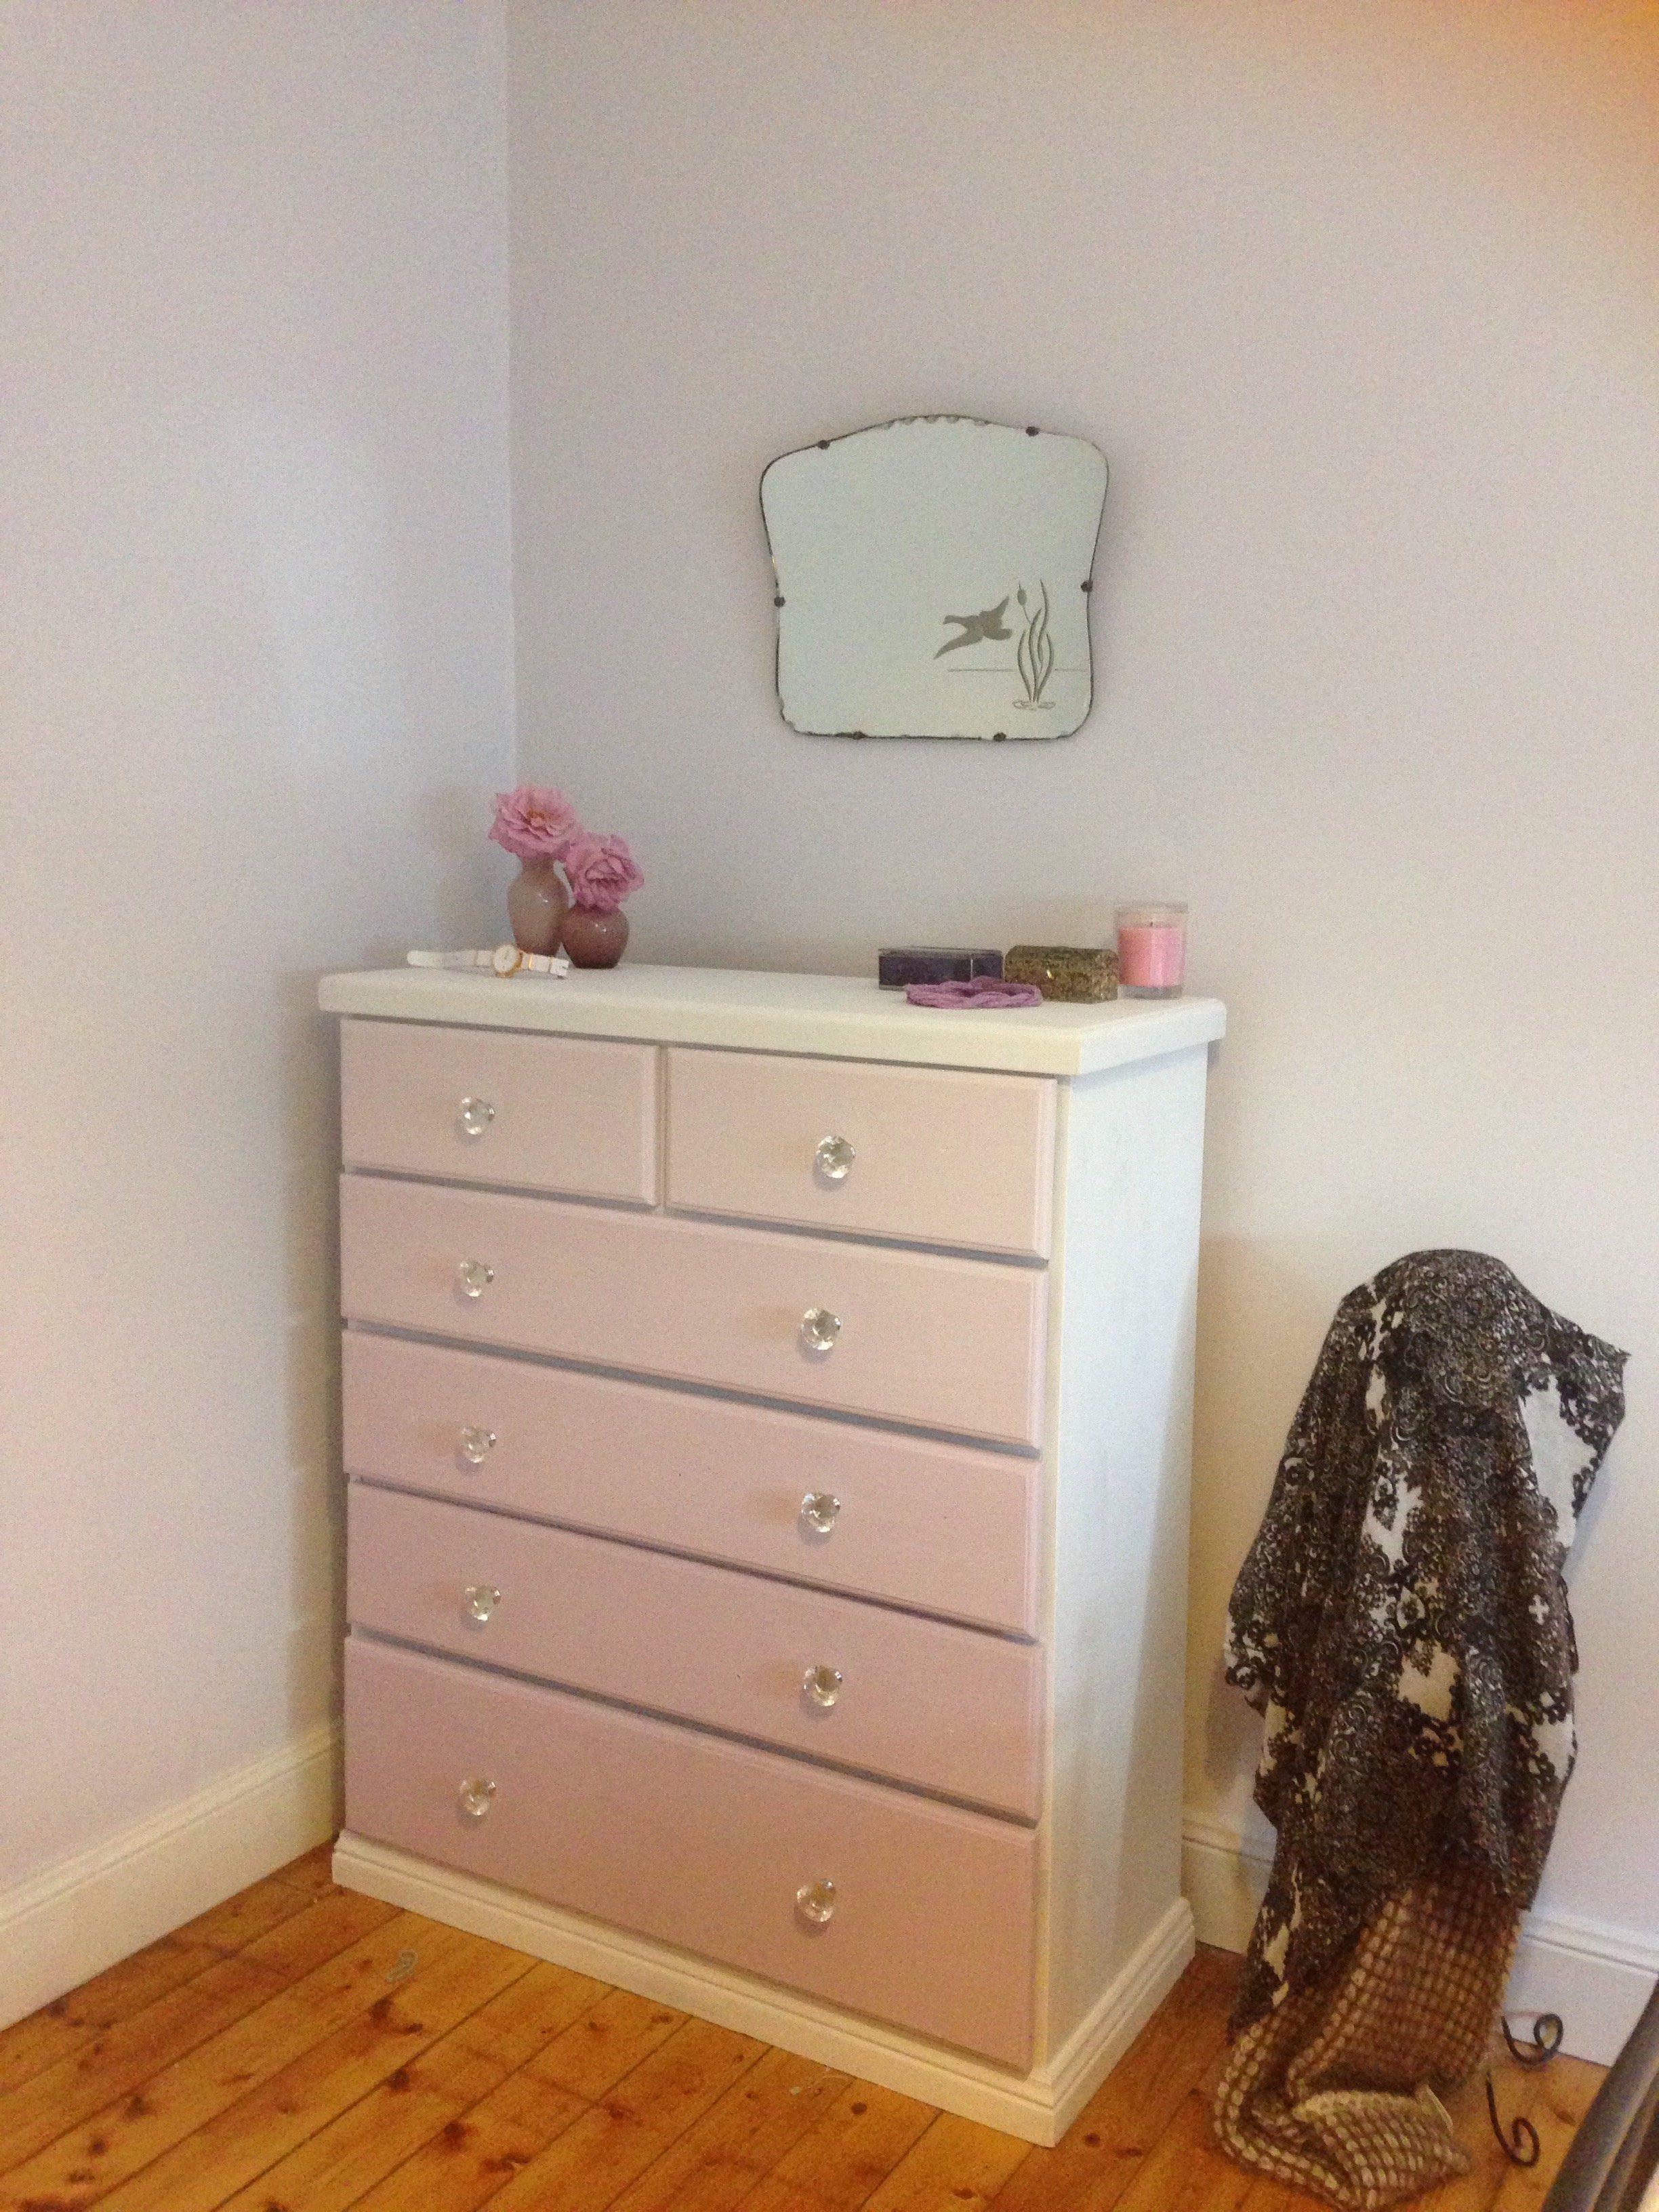
Pretty and a much better fit for the room!
We added the vintage mirror (another little bonus that came with the house and we reclaimed it from our bathroom) – not bad for an afternoon’s work.
A perfectly pretty dressing table and way less piney chest of drawers.
Chalk paint tips
Be ready to do multiple coats of paint, at least two for good coverage (unless of course you want the distressed shabby look with the original wood showing through, one will definitely do it!).
A huge advantage of chalk style paints is that you don’t have to muck around with oil based primers (heaps of drying time, turps wash up, etc) making it a realistic weekend afternoon project, BUT you must sand surfaces to rough them up so the paint will adhere properly. Invest in a hand held ‘mouse’ sander, whilst it’s great exercise this project would have taken multiple days if I’d had to sand back the whole chest and drawers by hand.
I didn’t opt to coat the drawers or chest in any special protective coating
(Rust-oleum does make a glaze and a Protective Topcoat, so we’ll see how well the white coloured top of the chest wears (no resting coffees on there Amos).
Livin’ the dream in Sydney’s (inner) western ‘burbs with a Wookie and a bossy cat.
Peter
Looking really good, now what’s next ………